Google Drive is a cloud back and sync solution that provides both free and premium data storage plans to its users. It offers 15GB of free storage to its users without charging anything. However, if someone’s requirement is high than the paid plans are there. To make the process of back and sync for between Cloud Drive and PC (Windows 10/8/7 and macOS) the Google officially offers a Google Drive back and sync software. It is not only available for PC but also can be downloaded for Android and iOS platforms.
How to setup & use Google backup and sync on Windows and macOS
Time needed: 3 minutes
Google Drive back and sync software allow us to sync data between all your computers and mobile devices via Google Cloud drive. We can use this software offline. Here’s how to install the Google Drive app on Windows 10/8/7 and macOS computers.
- Download Google Drive client software on Windows and macOS:
The first thing we need to set up Google Drive on Computer is its setup file. Go to: https://www.google.com/drive/download/backup-and-sync/
and download the online software setup.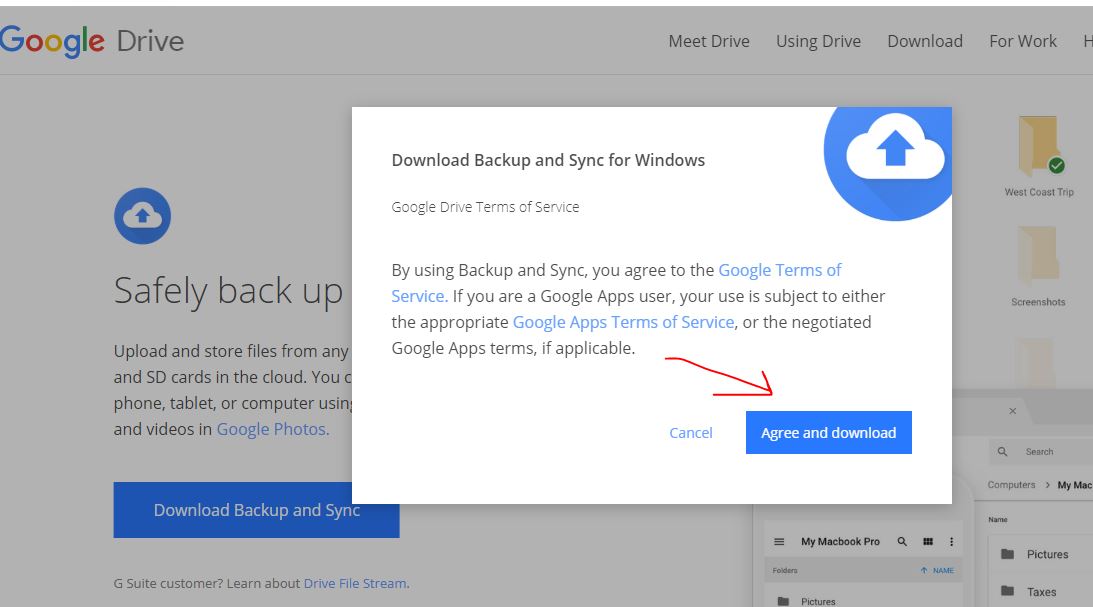
- Start the installation wizard of Google Drive software setup:
Once you have downloaded the setup, double click on that to open the installation wizard. After that to start the process click on the ” Get started” button.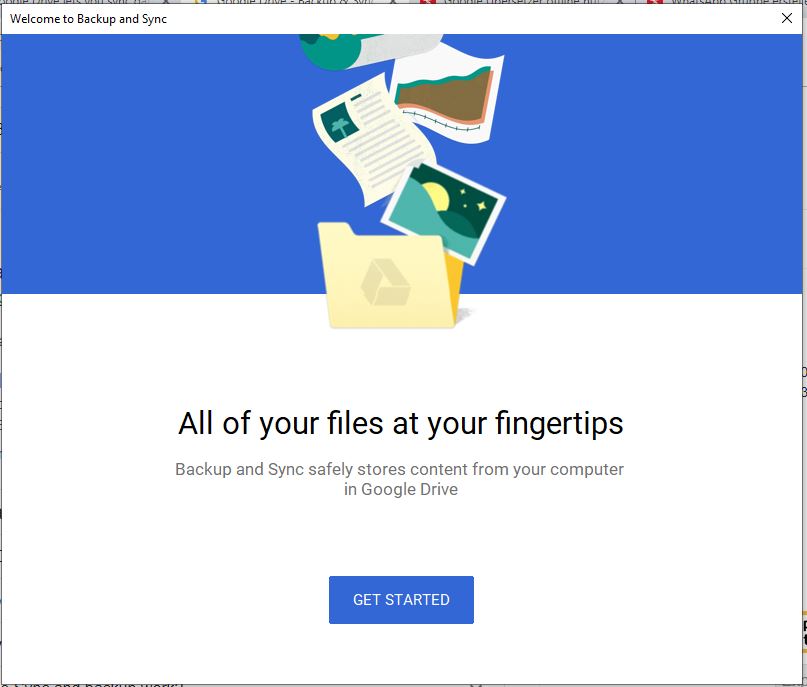
- Google Drive client Sign-in
Use your Google Account to login into this cloud drive for back and sync. If you are using the G-Drive first time then it’s perfectly fine otherwise use the account whose cloud data you want to sync on your PC.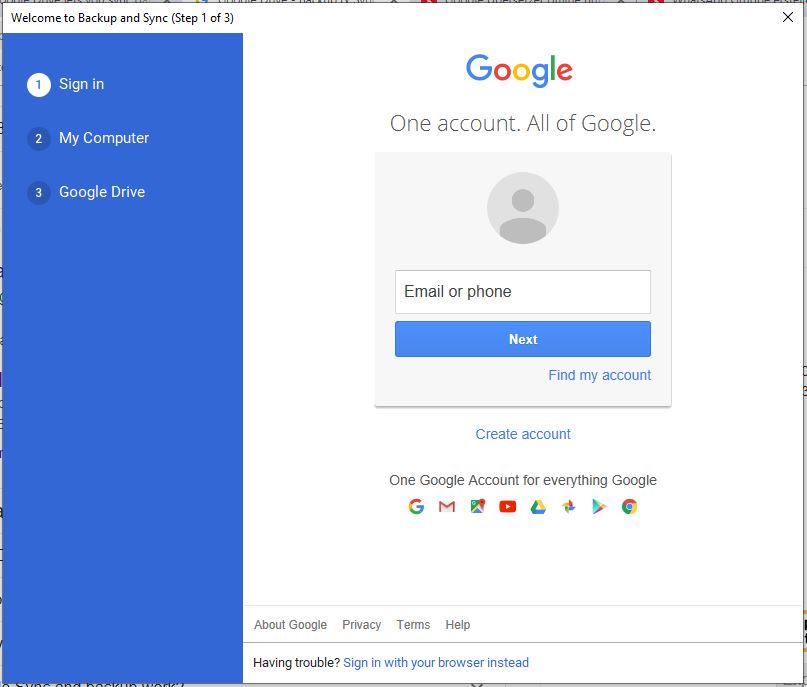
- Select folder to back up to Google Cloud Drive
At this step Google backup and sync software will ask to set the folders which you want to sync on your computer to the cloud, creating a backup of related content. This option is not for cross-device synchronization, which is the core feature of cloud storage, but pure data backup.
Although by default Desktop, Documents and Pictures folders are selected to back up, you can decide if you want to use any custom folder by clicking on Choose Folder option.
In addition to that, a user can choose photos and videos that will upload to Google cloud should be in their original quality or with a slight compression. If you choose to compress, Google will provide you with unlimited free storage. The upload in original size will be charged against your storage volume.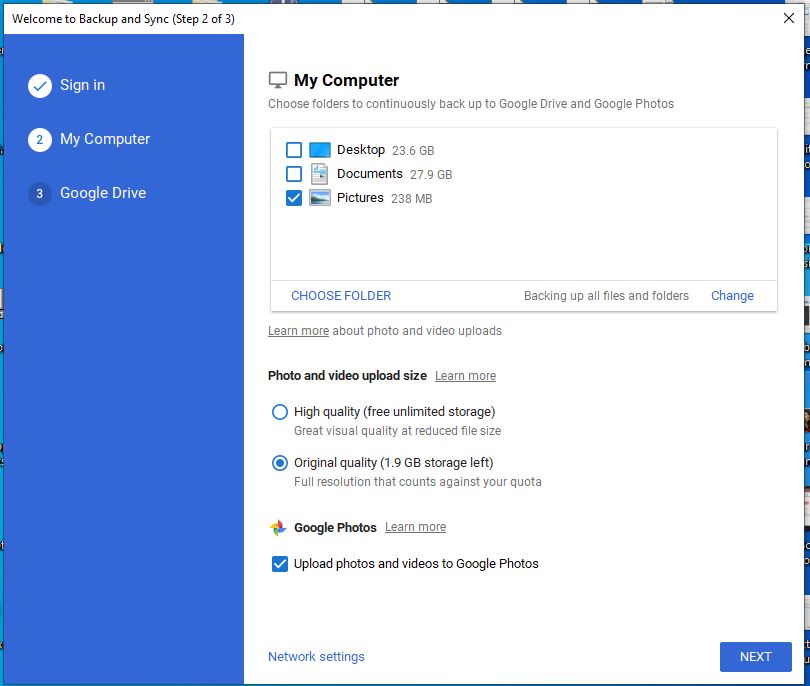
- Select Upload photos and videos to Google Photos
Optionally, you can also activate the Google Photos feature this will not impact on backup, however, uploaded media files can be accessed through the Google Photos web interface/app on both desktop and smartphone. After that click on the Next and then Got it button.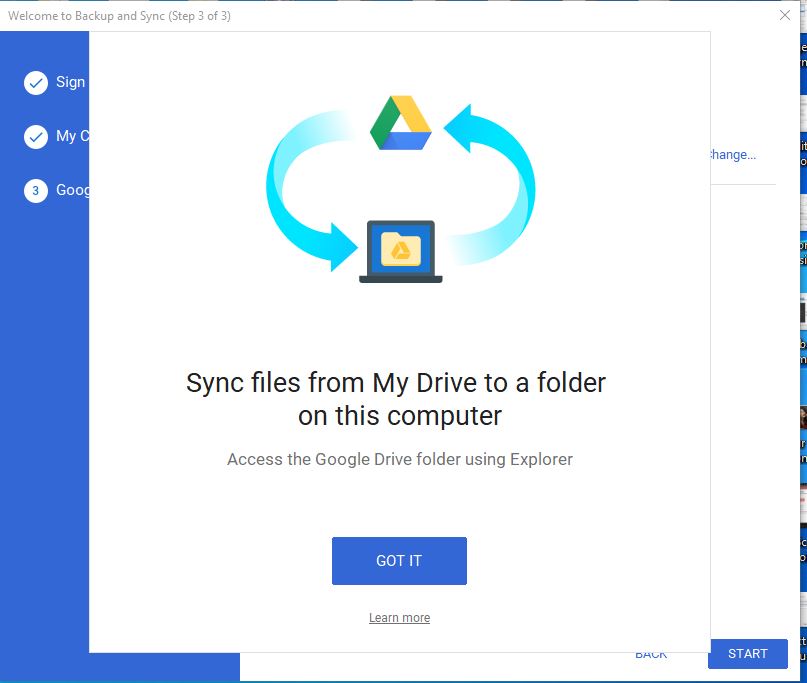
- Set up the Google Drive folder you want to sync on PC:
Now, from here we can activate the sync feature of this software, for that check the box next to “Sync My Drive to this computer“. In case you just want to backup computer folders and files to the cloud and don’t want to sync anything from the cloud on PC, simply uncheck this option.
Moreover, for the synchronization, one can choose to sync everything or select the specific folder of the drive for only partially synchronization with the computer.
Furthermore, by default the GoogleDrive sync folder will be under the current user directory of Windows or macOS; if necessary, change the path of the Drive folder on your hard drive by clicking on Change option given in front of “Folder Location“. Finally confirms with “Start“.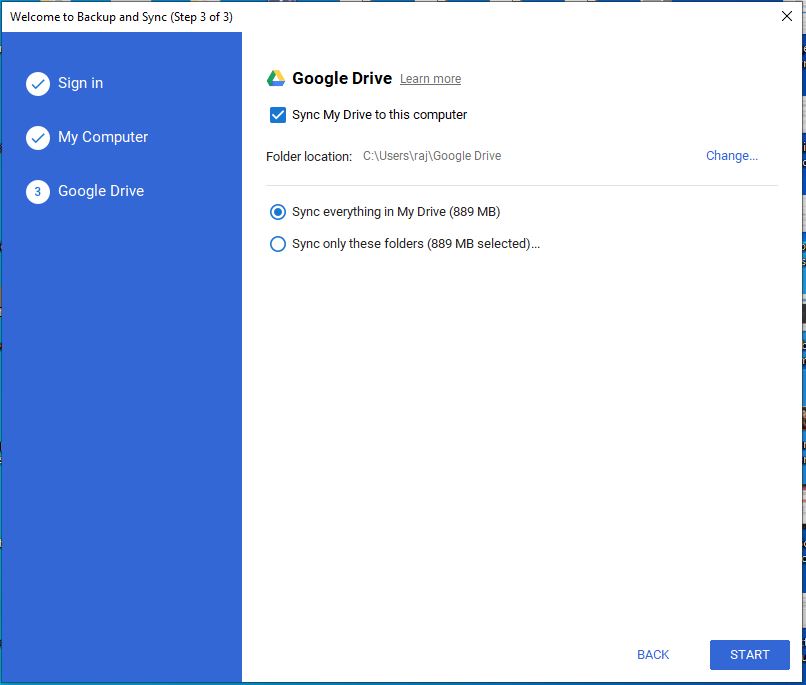
- Drive folder will appear in Windows Explorer or Finder under macOS:
As we click on the Start button in the above step it will automatically open up the Drive folder wherein a few seconds you will see all the synced folder of your G-Drive.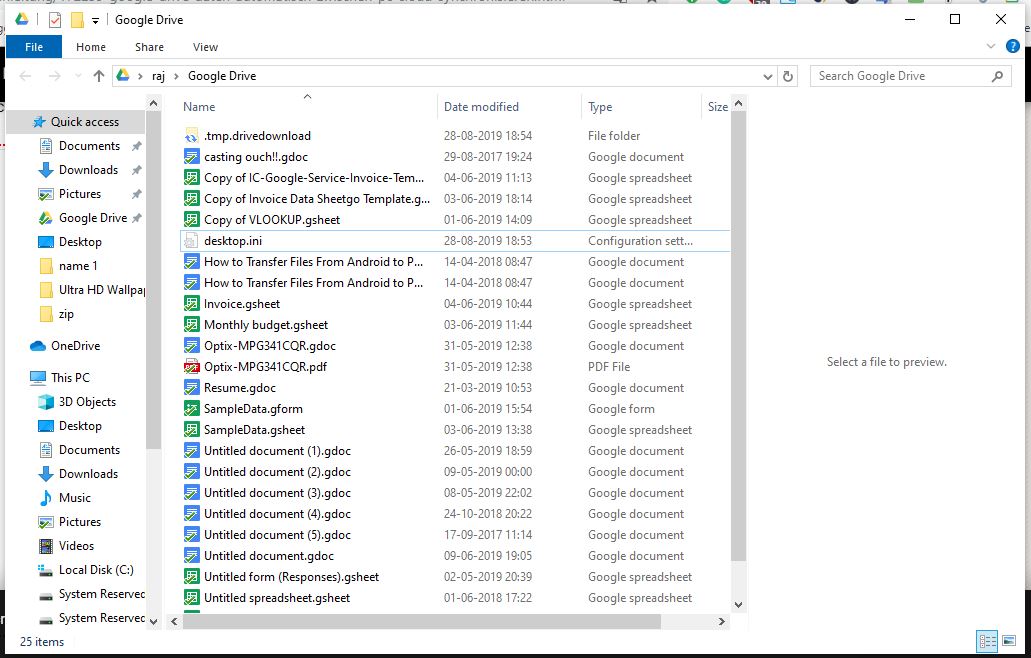
- Pause or Resume the Syncing
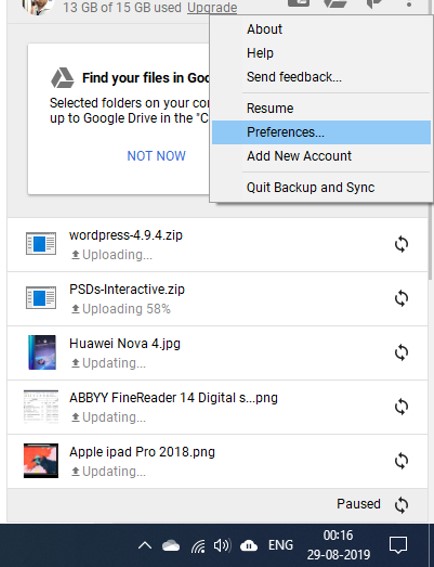
You can pause and Resume the event of data syncing from the cloud whenever you want. By just click on the Drive icon available in the system tray of Windows or macOS. Click on the three dots and select the option you want to use.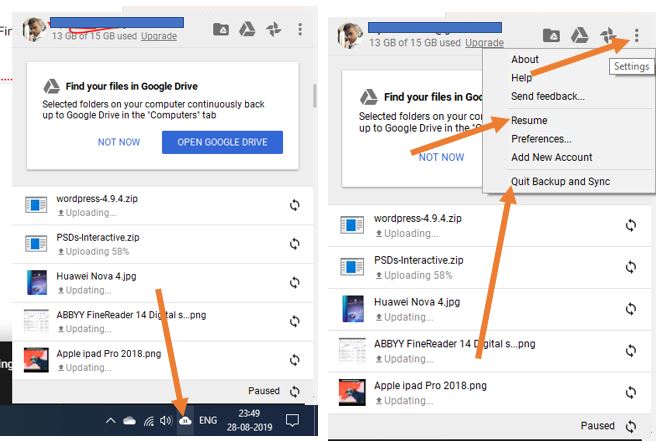
- Change the backup/Sync folder of Google client (optional)
In future, if you want to change the backup folder or syncing folder on the Google Drive client which we have installed on PC, simply from system tray icon option again click on the three dots and select the Preferences option to change the folder.
In this way, we can set up and use the Google backup and sync client.
Other Articles to read:
Related Posts
How to Archive a WhatsApp Conversation Without Deleting
How to Clear or Delete Archived Emails in Gmail
10 Reasons, Why Should users Archive essential Emails on their devices or other media?
How to Clear Google Search History?
2 best Android Apps to open zip or archive files on the smartphone
How to use the XLOOKUP function in Microsoft Excel with Example