Steps to Install Matomo (PIWIK) on any hosting services; a self-hosted open-source analytical solution and also one of the best alternatives to Google Analytics.
Many people think of statistics will be limited to Google Analytics, webmaster statistics, etc. These statistics are developed by third-party companies such as search engines, and they have nothing to say about functionality and ease of use, but only one problem is that the statistics storage is placed on a third-party server. There are certain risks for some websites with strong confidentiality.
Alternatively using Google Analytics, we can look for a self-hosted statistical system such as Matomo. Earlier it was known as Piwik, a free and open-source PHP analytical system with a high reputation. In terms of function, Matomo (PIWIK) is comparable to Google Analytics. It supports plugins. You can extend Piwik’s functionality through plugins, or remove some unwanted features, which basically meet the daily statistical needs of small and medium-sized websites.
Matomo (PIWIK) is built with PHP+MysqL, so any web server in the LNMP or LAMP environment can run Piwik. This article will share the installation and use of Matomo.
Installation requirements for Matomo On-Premise
Installing Piwik requires the server to meet at least the following conditions:
- Support for Apache or Nginx or IIS, etc.
- PHP version is at least 5.5.9
- MySQL version is at least 5.5 or MariaDB
- Open PHP extension pdo and pdo_mysql, or the mysqli extension.
You can also see the installation of another open-source Analytical tool called OWA: Install Open Web Analytics (OWA) on Ubuntu and CentOS
After the installation, you can install PIWIK plugins from its market place.
Install Matomo PIWIK on any Hosting service using Cpanel
Below given steps will give the view of Matomo installation (PIWIK) on any Hosting service using Cpanel for self-hosted analytics like Google analytics on Godaddy, BlueHost and more…
1: Login to Hosting CPanel
If already have some hosting plan then you would be well acquainted with CPanel. So, what you have to do login to your hosting service and open the Cpanel.
2: Open Cpanel File Manager to install Matomo
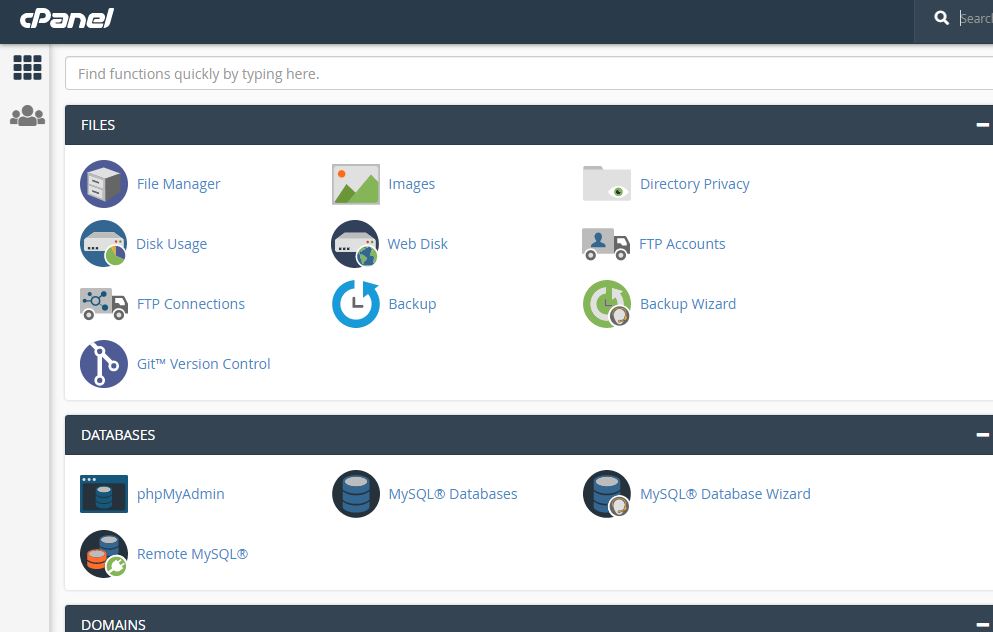
From the Dashboard of Cpanel, you will find multiple options. Go to the Files category and click on File Manager to access it.
3: Download Matomo (PIWIK)
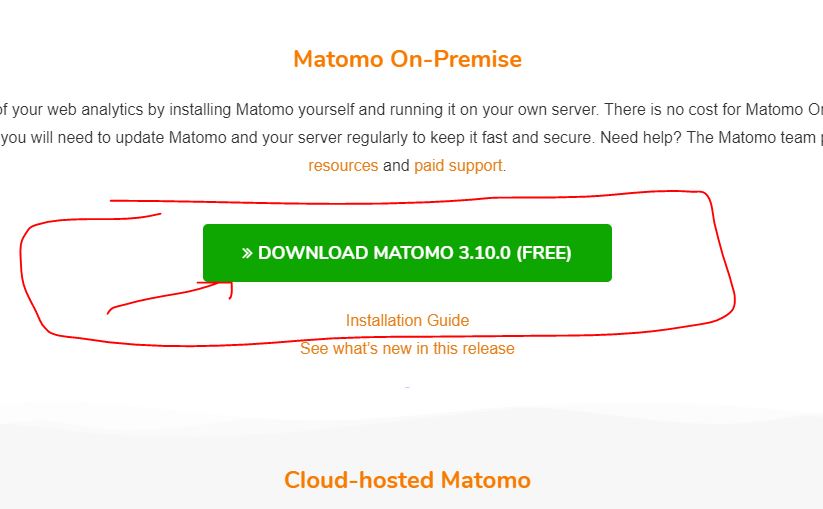
The next step is, open a new tab and visit the official download page of Matoma self- analytics files, here is the link.
You will see a green colour button under the Matomo On-Premise, click on it get the files on your local system.
4: To install Matomo Create an Analytics folder
I am sure you don’t want to set up analytics on your main domain or IP, thus we will create a subfolder in which we put all our Matomo files. Simply from the menu of Cpanel’s File manager click on Folder option and create a folder with a name Analytics. You can choose any other name too.

Step 5: Upload Matomo files to install on hosting server
Now open the created analytics folder and click on Upload option to upload the recently downloaded Matomo zipped folder in that. Alternatively, you can also use FileZilla FTP tools.
6: Extract Matomo (PIWIK) zipped file
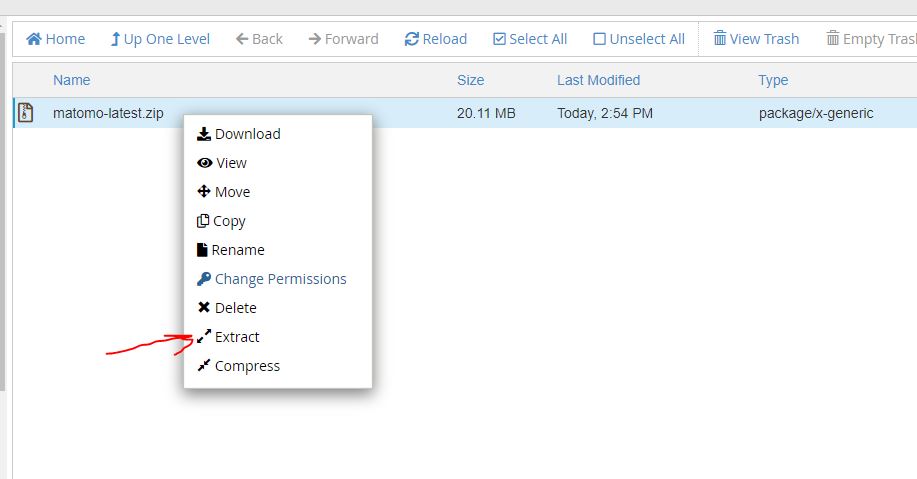
Right-click on the folder and select the extract option.
7: Open folder, select and move files of this self-hosted analytics
After extracting the zipped folder you will find a folder named Matomo, click it to open.
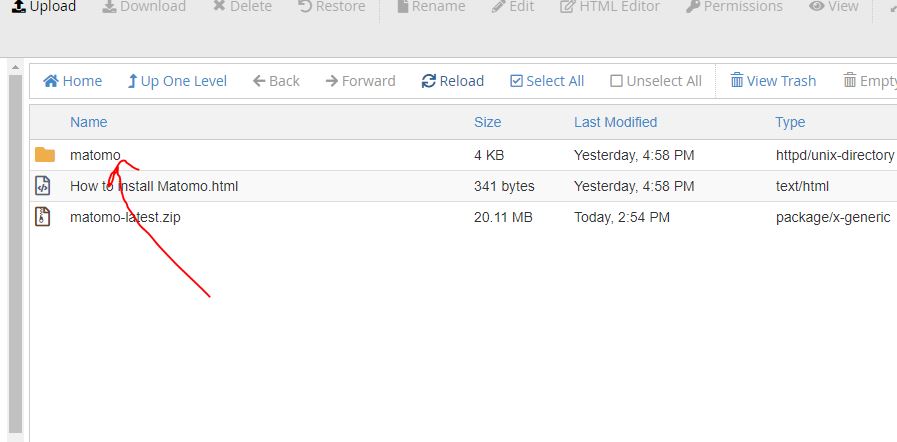
Now first, click on option Select ALL and then Move which is given in the top menu.
Note: The position of option on the file manager menu may be different as per your hosting provider.

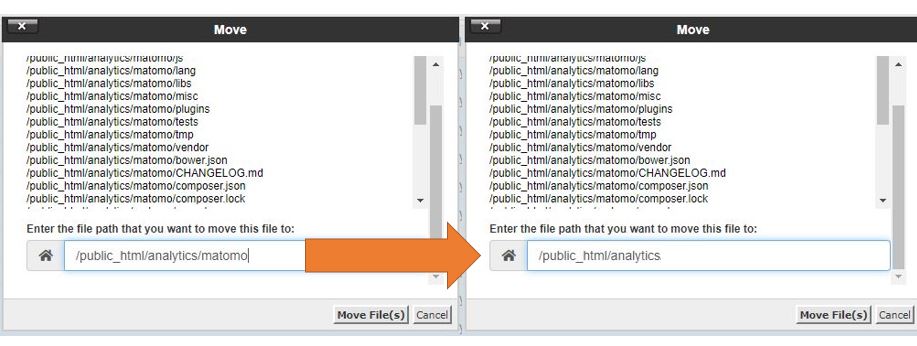
As you click on the Move option, a pop-up window will open; here change the path from
/public_html/analytics/matomo to /public_html/analytics
and click on the Move File(s) button.
Now Delete these two files present inside the same folder for security reasons…
- How to install Matomo.html
- matomo-latest.zip
8: Create a Database for Matomo Self-hosted analytics
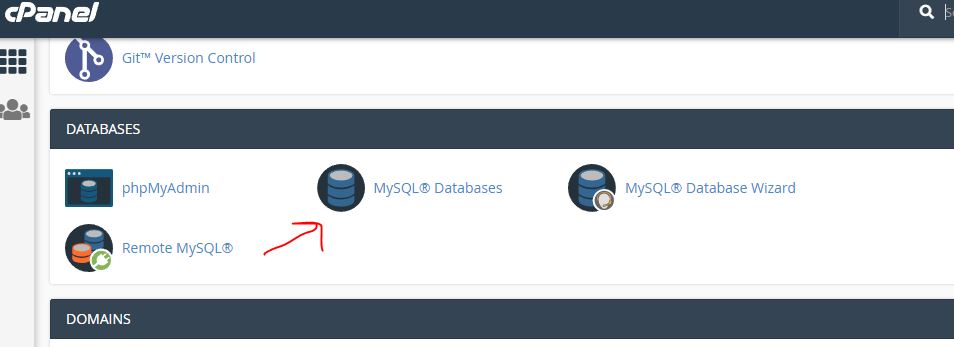
Again go to Cpanel Dashboard and click on MySQL Database to create Database and User for the same.
9: Install Mamoto
Open the browser and point your domain or IP-address linked with your hosting service along with the folder name analytics. Thus, it would be like this:
www.example.com/analytics
or
Ip-address/analytics
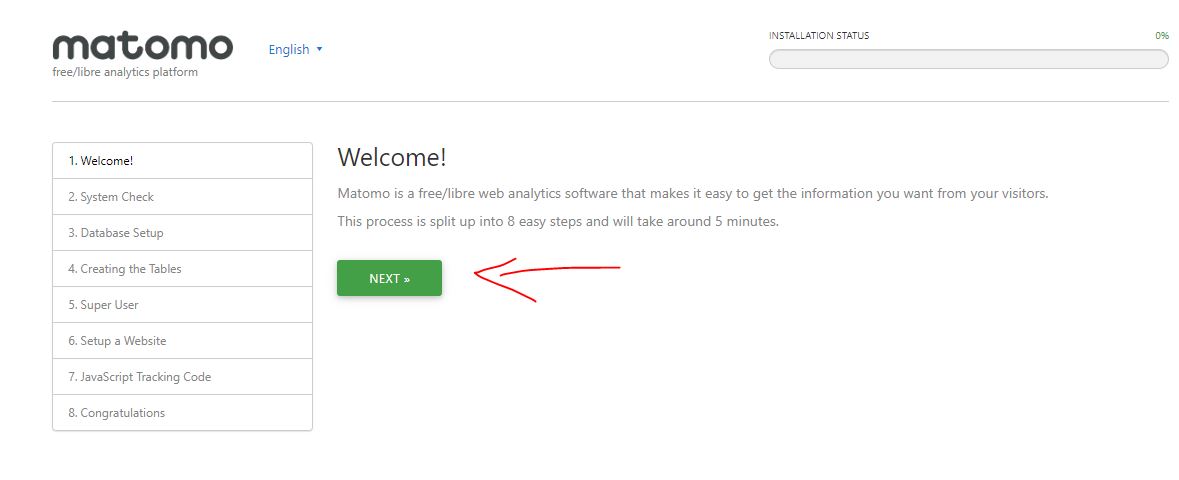
10: Setup Wizard of self-hosted Google Analytics PIWIK
As you point your browser to the above created folder which is in our case is Analytics and might be different yours.
System Check
The wizard will automatically check your system for all dependencies it requires to run and install Matomo on your hosting server.

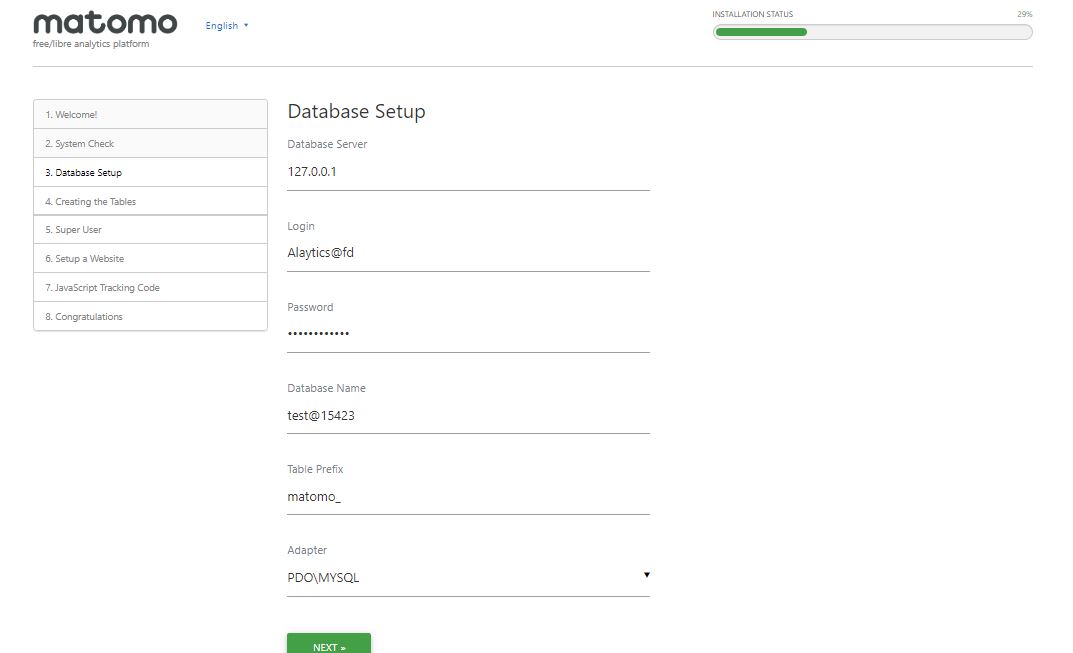
Database Setup
The details of the Database you have created above for Matomo. Username in Login field and password of the database in the password field.
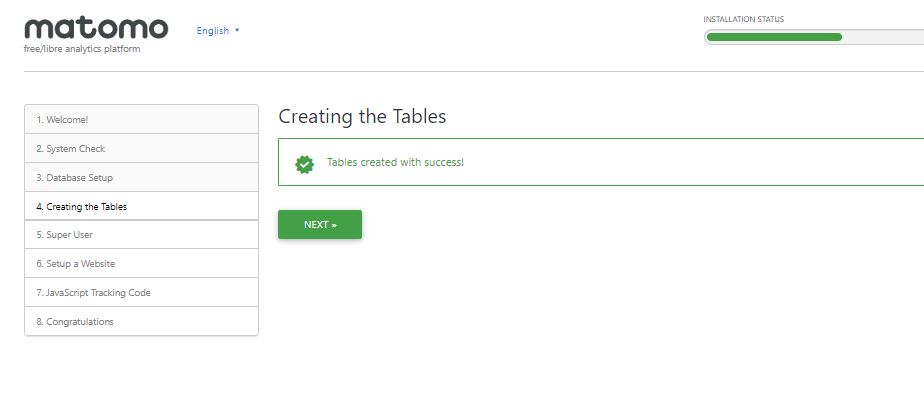
Creating Tables
Click Next to move forward.
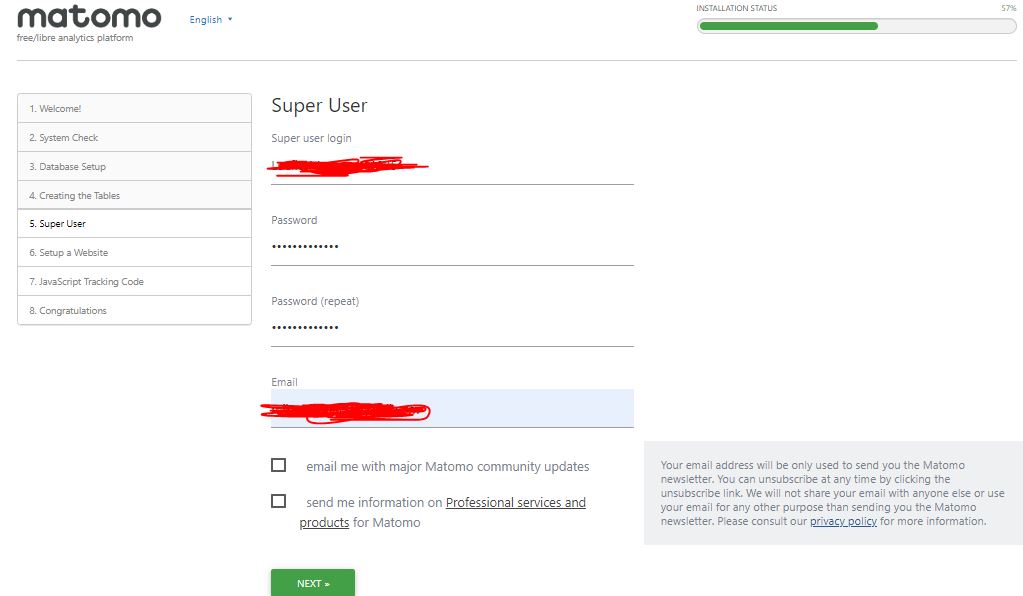
Super User
Create a Super or admin user for Matomo which we need later to log in.
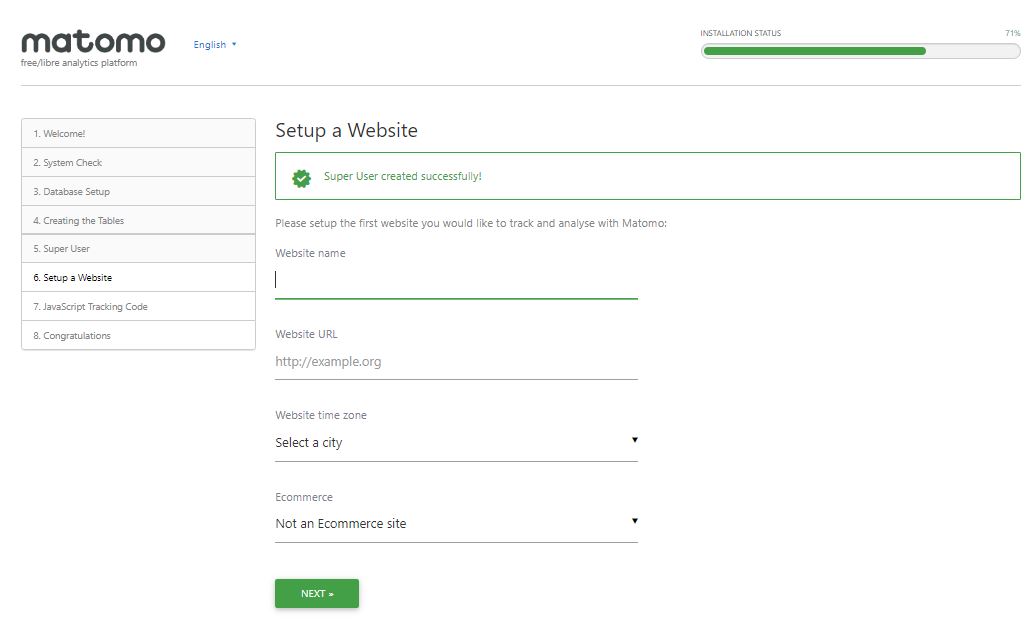
Setup a Website for Tracking
Enter the name of the website and other details that you want to track.
Copy Tracking Code
Same like Google Analytics you will also get a Javascript Tracking code. Copy that and past in the Header section of the website just before the closing </head> tag.
In WordPress, if you are using some professional theme, you just need to go-to Appreance-> Theme options and Select Header option; where a box would be given for entering codes for the header of the theme. Or just see this article to know how to find head closing and opening tags manually.
Moreover, the WordPress users can also use the Piwik WordPress plugin to directly connect and view the stats.

Finally, Login using the Super username and password created above
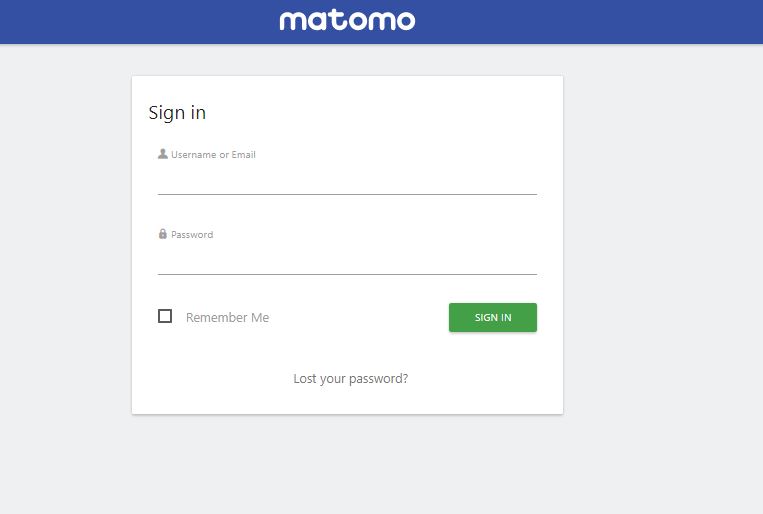
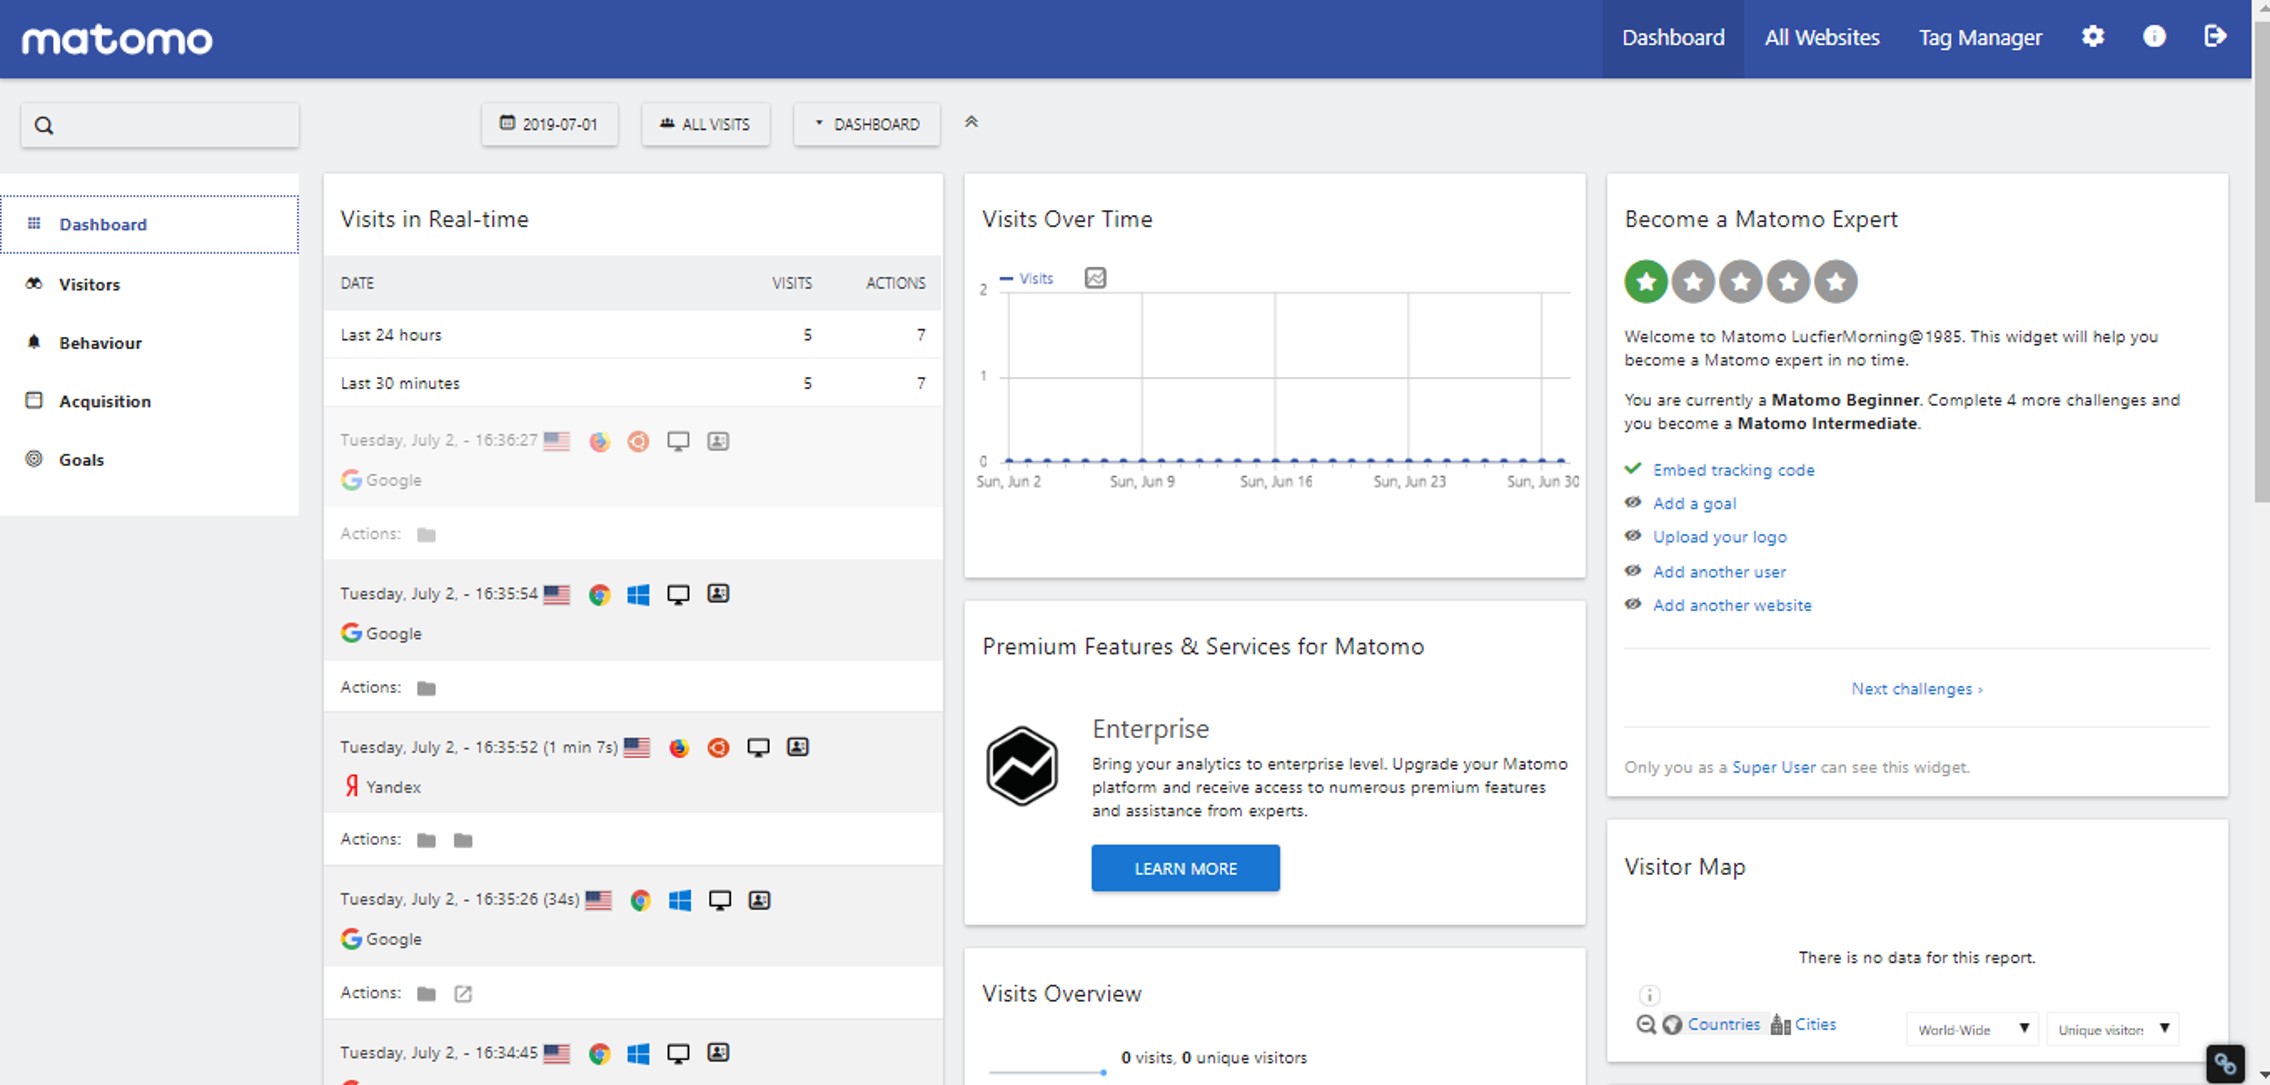
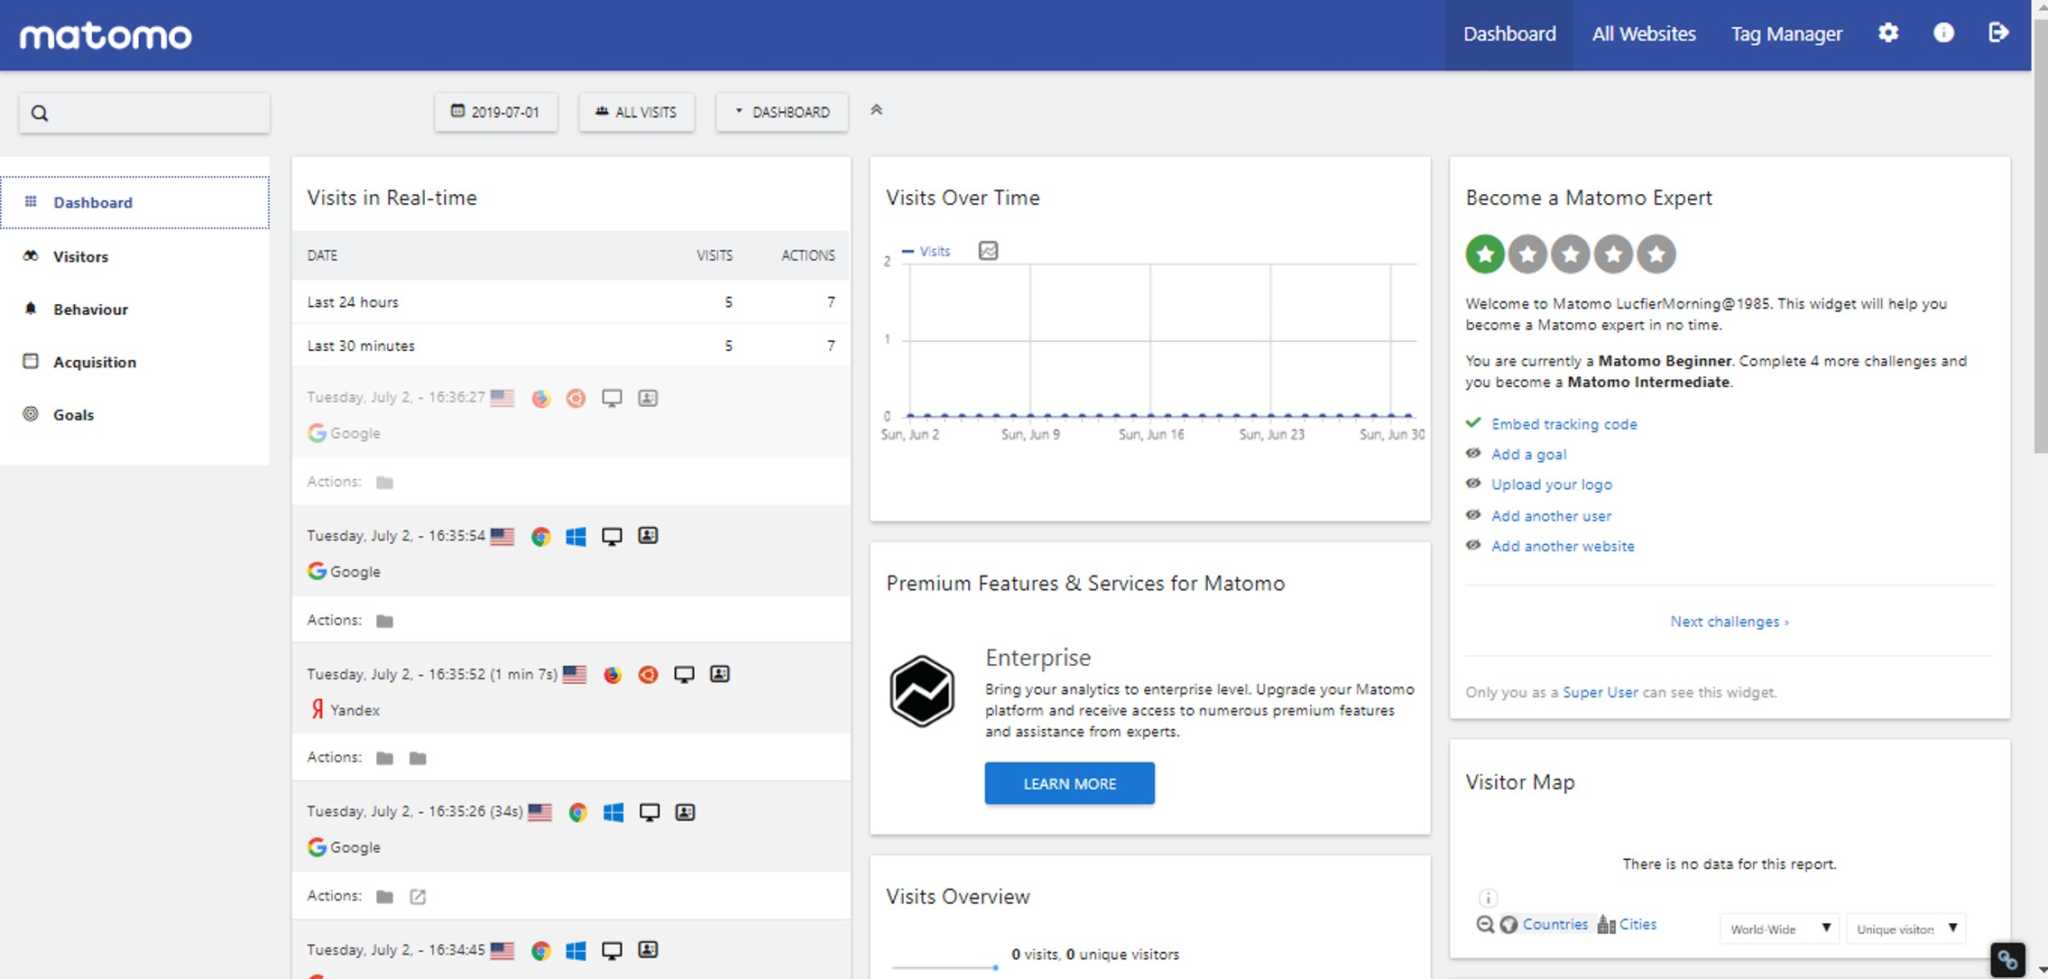
A dashboard of finally installed Matomo Piwik, a self-hosted open-source alternative analytical solution to Google analytics.
While going through this tutorial, if you have faced any difficulty, let us know using the comment section and we will help you immediately.
Related Posts
How to Archive a WhatsApp Conversation Without Deleting
How to Clear or Delete Archived Emails in Gmail
How to Clear Google Search History?
6 Best Free and Open-source Alternatives to WinZip & WinRAR
10 Top Best Free & Open Source Social Network Platforms to Start Your Own
2 best Android Apps to open zip or archive files on the smartphone