VMware Workstation is a commercial platform to install and run various operating systems in a virtual environment. So, to install Vmware on Windows 11 using the command line either PowerShell or CMD, here is the tutorial.
Running multiple operating systems on a single hardware, we need to perform multiple boots which is not feasible to access every time without leaving your main OS. In such situations, using virtualization is a great way to operate and experience multiple OS on a single system i.e. Windows 10 or 11. Whether you’re an IT professional, a software developer, or an enthusiast looking to experiment with different environments, VMware Workstation provides a flexible and efficient solution.
In this article, we learn how to use the Winget package manager of Windows to either install the free or pro version of VMware Workstation on Windows 11 systems.
Step 1: Open PowerShell or Command Prompt
On your Windows 11 or 10 system, go to the search box and type CMD or Powershell, as per your choice. Here we are using PowerShell. When it appears in the result, select “Run as Administrator“. It is because we need Admin user access to run the command for the installation of any software on Windows.

Step 2: Check Winget Availability
Well, although all the latest versions of Windows 10 and 11 come by default with the Winget tool. However, let’s first check whether it is there to use or not.
Type:
winget
In return, you will see the options that can be used with the command.

Step 3: Vmware Workstation installation command for Windows 11
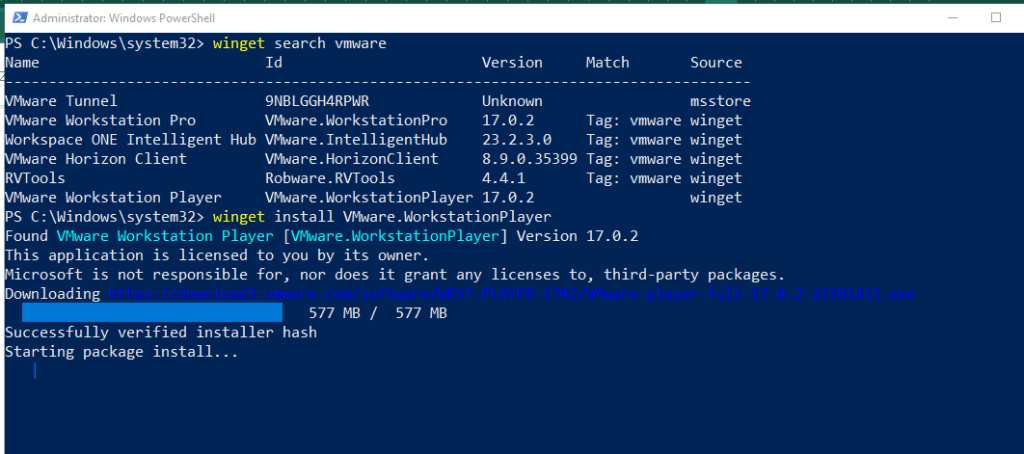
Now, we have the winget, let’s install the Vmware Workstation player on Windows 11 using its single command.
Here it is:
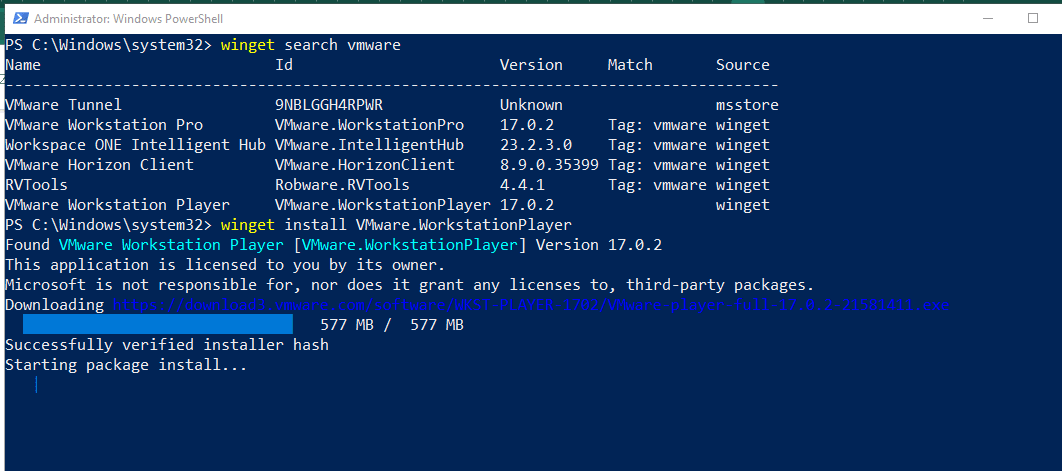
winget install Vmware.WorkstationPlayer
(optional only for paid licensed users) Similarly, those who are looking for a command to install the Pro version of Vmware Workstation can use:
winget install Vmware.WorkstationPro
Soon the system will open the Vmware installation wizard’s GUI to ask you to accept the End-User License Agreement (EULA), check the box given for that, and complete the installation process.
Step 4: Start using Vmware Player
Once the installation is completed, go to Applications, and from their search for Vmplayer, as its icon appears click to run it.

From here you can start creating virtual machines for your favorite operating system without leaving Windows 11. For examples, see our articles:
- How to install Kali Linux on Vmware on Windows or Linux
- How to install Windows 11 on VMware Player virtual machine
- How to use a Bootable USB drive in VMware Player to install OS
Uninstallation
For those who in future would like to remove the Vmware Workstation, the reason can be any, but using the command prompt or PowerShell, they can use the given command:
winget remove Vmware.WorkstationPlayer
Conclusion: By following this step-by-step guide any user can easily install VMware Workstation on their Windows 11 PC or laptop using CMD or PowerShell. In this method, unlike GUI, you don’t need to visit the Vmware website to download the installer setup first. Just a single command and you are done. Create and enjoy multiple VMs simultaneously and unlock new possibilities for your computing needs.

Related Posts
How to Archive a WhatsApp Conversation Without Deleting
How to Clear or Delete Archived Emails in Gmail
How to Clear Google Search History?
2 best Android Apps to open zip or archive files on the smartphone
How to use the XLOOKUP function in Microsoft Excel with Example
How to set up an out-of-office responder on Gmail? Step-by-step guide on setting up a Vacation responder