Microsoft Excel actually does a great job when it comes to dealing with large sets of data in the most effortless way. There are hundreds of tools that are available within Microsoft Excel and it might not necessary to master every single tool, as you should better pay importance to only those tools that are important for you in some way. One of the most important tasks, which most users need to carry out quite often is to sort data based on a particular criterion. For example, if you are having some numbers that are showing the marks of the students, you can easily sort the data, either from low to high or vice versa to find out the student, who is performing the best.
Furthermore, if you have the data about certain companies on anything else, and you want to sort the information alphabetically, you can also do that with the help of Microsoft Excel. The ability to sort data on Microsoft Excel can come in handy in a number of situations you can’t even imagine. The ability to sort data in data sets is one of the most powerful features available on Microsoft Excel and it can really be easily mastered if you are dealing with very large sets of data and even when dealing with small and medium sets of data by eradicating a lot of manual work. So, today I will talk about how you can sort data on Microsoft Excel.
Without any further delay, let’s dive into how you can sort data on Microsoft Excel in the easiest possible way.
Sorting data on Microsoft Excel
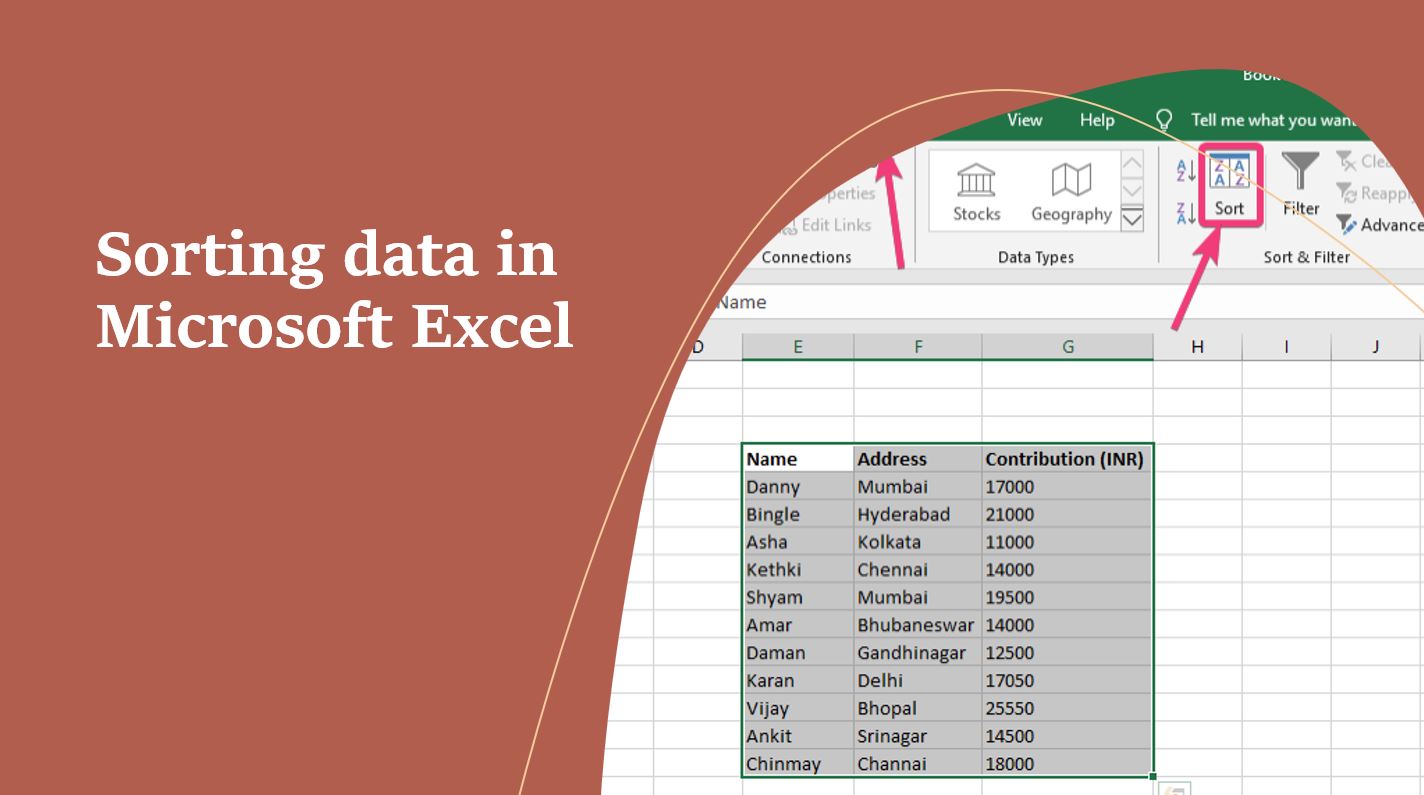
Open Microsoft Excel to enter the data that needs to be sorted, or open any existing workbook, where you have the data that need to be sorted on Microsoft Excel ready with you. Here I am having a small data set where you can find a number of names and the amount they have contributed for a project, and it also has some additional information about the address of the contributors. I am not going more specific, however, in your case, the data set can be bigger and more complex, but the process to deal with even bigger data sets is not going to be different as long as you know how exactly you want to sort the data available with you.

What I will do here in the following data set is, I will sort the data depending upon the contribution and the name of the contributors in an alphabetical way. That should be enough for you to understand, how you can sort large sets of data based on some simple criteria.
Just select the complete data set or all the cells associated with the data. Here I will select all the cells containing the name of the contributors, address and their amount of contribution. After you have done that, click on the ‘Data’ tab and hence click on ‘Sort’.

Now, the sort dialogue box will open up on Microsoft Excel. Here, you have to change some settings to sort the data as per your requirements.

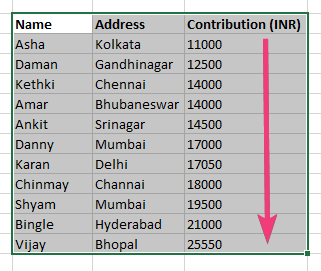
In the beginning, I will sort the complete data set depending upon the value of the contributions. So, in ‘Sort by’ under the ‘Column’, I will choose the column that says ‘Contribution’. Depending upon the data type the next sorting parameters will automatically be decided. For example, as the data will be sorted as per the contribution, Microsoft Excel will automatically make the sorting criteria based on ‘Cell Values’. However, depending upon the data set that you have, you can also change the basic criteria from the dropdown menu. You have to choose, how exactly you want to sort the data. You can either choose ‘Smallest to Largest’ or ‘Largest to Smallest’. Depending upon the data set, you can also choose a custom list, however, that is not applicable here. After you select everything, click on ‘OK’.

Now, the sorted data will be in front of you.

It is quite self-explanatory that you can also change the sorting criteria from ‘Largest to Smallest’ and the data represented in a reversed format. It is all up to you, how exactly you will sort the data as per your requirements.
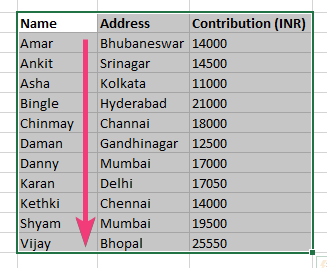
Now let’s find out, how you can sort the data alphabetically, based on the names of the contributors. To do that, click on the ‘Sort’ option once again after you select the data set under the ‘Data’ tab, and change the ‘Sort by’ under the ‘Column’ to ‘Name’. Corresponding to order, you can either choose ‘A to Z’ or ‘Z to A’ and click on ‘OK’.

The data will be sorted alphabetically, based on the names of the contributors.

There is one more thing that you should keep in mind at the time of selecting the data set. You should not select the headings as a part of the data set, and if you do that the headings will also be a part of the sorting algorithm. However, if you have mistakenly taken the headings in your selection, just mark the option that says ‘My data has headers’ in the ‘Sort’ dialogue box.

What this will do is automatically deselect the top row that will possibly have the headings.
The ability to sort data on Microsoft Excel can come in really handy in a number of situations when you have to find a particular record and the data set is really big for manual searching. Even though, there are a number of tools that can help you search for things on Microsoft Excel sheets, searching the complete sheet after sorting can be the best thing that you can do. You can find the number of everyday situations when you have no other option but to sort a complete data set. You can also have some complex criteria to sort the data and that should also work out perfectly fine on Microsoft Excel.
So, that was all about how you can sort data on Microsoft Excel in the possible easiest way if you are not looking for something very complex. Do you have anything else to say? Feel free to comment on the same below.

Related Posts
How to Archive a WhatsApp Conversation Without Deleting
How to Clear or Delete Archived Emails in Gmail
How to Clear Google Search History?
2 best Android Apps to open zip or archive files on the smartphone
How to use the XLOOKUP function in Microsoft Excel with Example
How to set up an out-of-office responder on Gmail? Step-by-step guide on setting up a Vacation responder