Want to confirm the virtualization is enabled on your Windows 11 or 10 PC & Laptop using the command prompt or Powershell, then just use the command “systeminfo”.
On most modern systems, Virtualization is enabled by default on the BIOS, however, we can confirm that without actually opening the BIOS/UEFI firmware menu. We learn later how to do that but before that let’s quickly know what is virtualization.
It is a technology that allows users to run multiple operating systems on a single physical hardware but virtually. This means, on the physical machine there will be an OS that in computer language known as the host. Whereas the operating systems run on it using virtualization tech and with the help of software like Hyper-V, VirtualBox, VMware, etc known as Guests.
How to ensure Virtualization is enabled on Windows using Command
CMD and PowerShell can be used to check Virtualization on Windows 11 or 10.
Step 1: Open Command Prompt or PowerShell as Admin
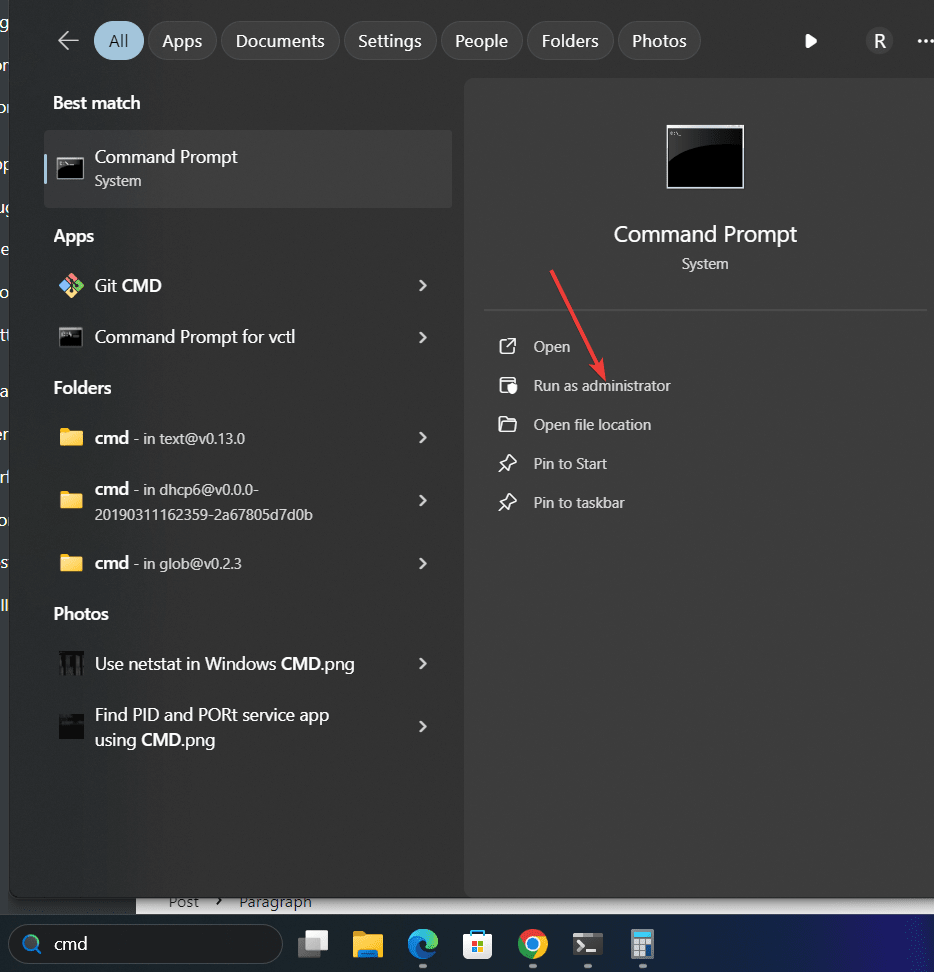
As we are about to use the command line to determine whether the virtualization is enabled or not, so go to the Windows Start menu and search for either the CMD or PowerShell, then click on “Run as Administrator” to open it with administrative privileges.

Step 2: Run System Information Command
The easiest way to get all the key information about Windows PC or laptop using the command line is with the help of “systeminfo“. It is a tool that is available to display information about the system including hardware and software configurations using both GUI and CLI. Hence, execute it as shown below:
systeminfoStep 3: Check Virtualization Status
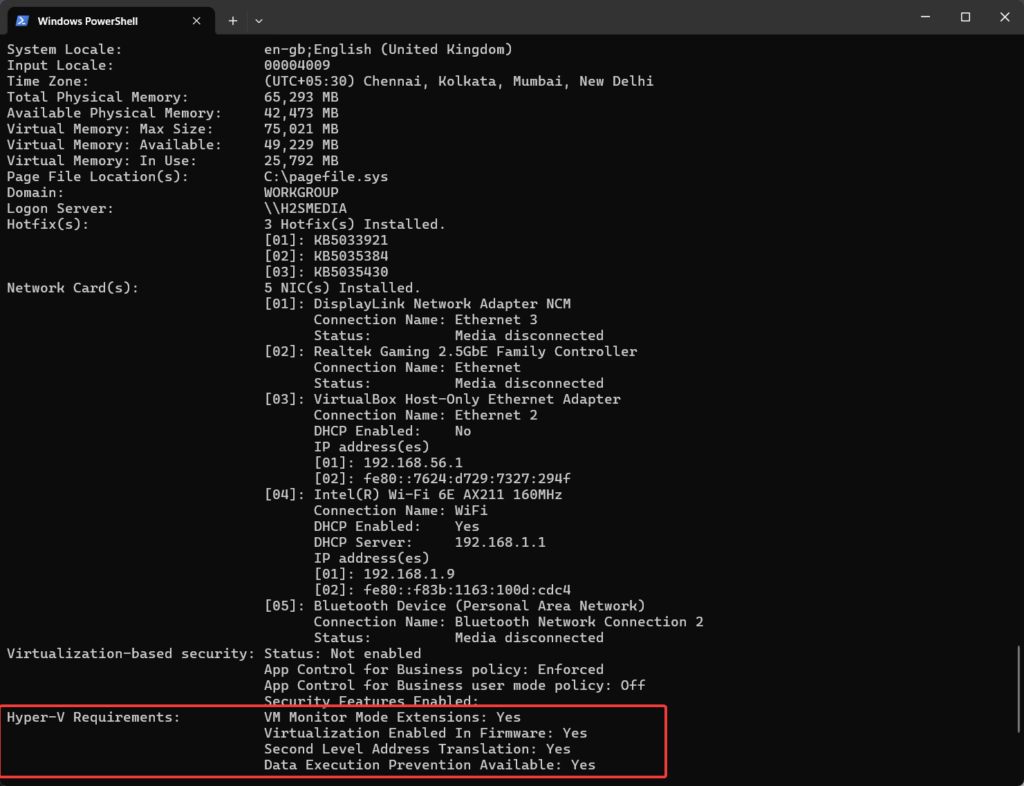
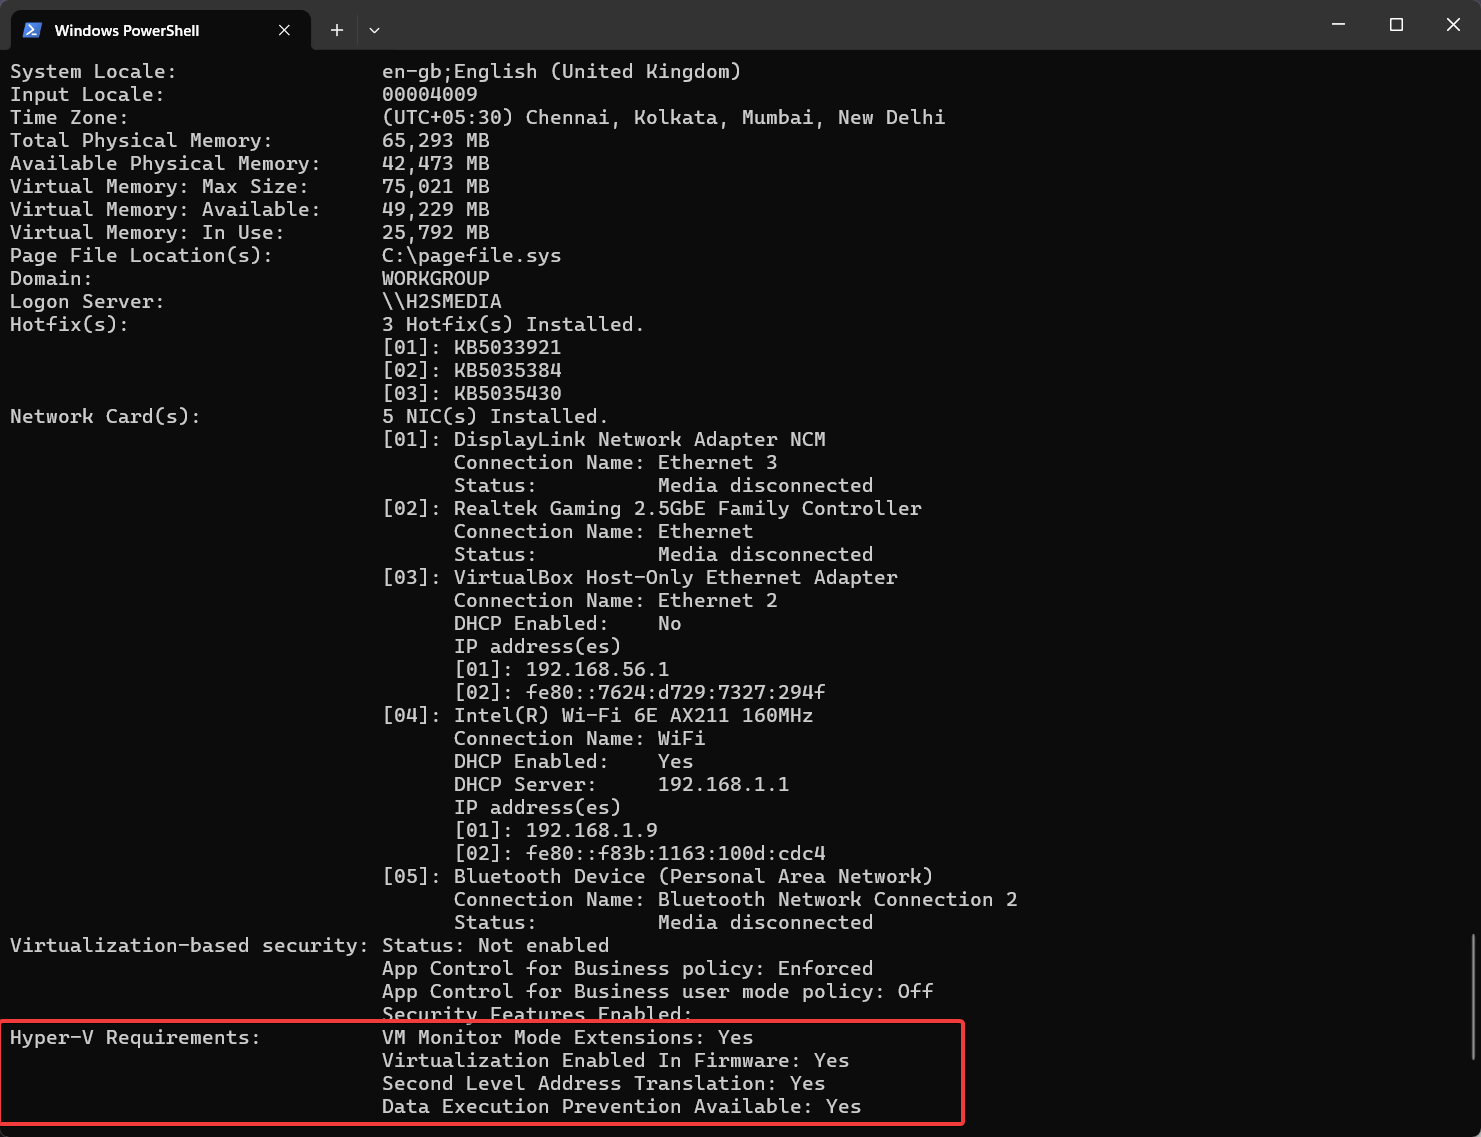
The output of the command we ran in the previous step will be long because it provides all the important details of Windows hardware and software, however as we are looking specifically for Virtualization, hence scroll down and at the end of the output you will find a line saying “Hyper-V Requirements.” If virtualization is enabled, you should see the following information:
Hyper-V Requirements:           VM Monitor Mode Extensions: Yes
                                                      Virtualization Enabled In Firmware: Yes
                                                      Second Level Address Translation: Yes
                                                      Data Execution Prevention Available: Yes
If the “Virtualization Enabled In Firmware” is marked as “Yes“, this means the Virtualization on your Windows 10 or 11 is enabled in the system’s BIOS and can be used to run virtual machines or applications. Not only regular VMs but we can even run Windows Sandox for testing apps, learn how...
However, if instead of “Yes” it is marked as “No” or not available then you need to enable the virtualization in the BIOS of the system.
Conclusion:
It is not very difficult to find out the virtualization status on Windows, single command can do that for us. Also, it is necessary to know about it before installing any application that requires virtualization such as Oracle VirtualBox. By the way, if you are using VirtualBox already then you might would like to learn how to enable Virtualbox nested VTX/Amd-V on Windows or Linux.
Other Articles:
- Windows XP ISO installation on Windows 11 using VirtualBox
- How to install MX Linux on VirtualBox VM
- Convert VMware Workstation Pro Virtual machine to use in VirtualBox

Related Posts
How to Archive a WhatsApp Conversation Without Deleting
How to Clear or Delete Archived Emails in Gmail
10 Reasons, Why Should users Archive essential Emails on their devices or other media?
How to Clear Google Search History?
2 best Android Apps to open zip or archive files on the smartphone
How to use the XLOOKUP function in Microsoft Excel with Example